Monday, 14 October 2013

Miniature passport as a cash gift holder

Recently my sister-in-law and her husband both celebrated milestone birthdays just before they jetted off for a 6 week holiday in the USA. My SIL suggested that the family put some money towards some special holiday experiences as a gift (and it was our job to suggest what those experiences might be). So my other SIL and I came up with a few suggestions of things to do with some US dollars (eg visiting Alcatraz and the Statue of Liberty) and while my other SIL organised the US dollars, I was in charge of making a card for the birthday boy and girl.

As well a as birthday card for each of them, I decided to make a little passport for each of them with pockets in each page where I could slip in each US dollar bill and then on the outside of the pocket show the "Condition of Visa" which was our holiday activity suggestion.
 

I found a photo of the cover of an Aussie passport on Google and then I also found a picture of the inner page of the passport which shows all the person's details. If I had access to the real passports I would have just taken a photo of them but I was short on time so I decided just to modify the Google image with a photo and text.

For the text, Google told me that OCR was the font used in passports so I downloaded a copy of the font and played around with the text in Word to get the right size and spacing.

For the other pages, I found some passport-type stamps (also on Google - love that website!) to use for each city that we had an activity for. I used Courier New for the font on those pages.   

The finished passport (when closed) measured about 6.2cm (2 1/2 inches) wide and about 8.5cm (3 3/8 inches) high. I think the small size really gave it a unique look and it was just the right size for a folded dollar note.

I was so happy with how the passports turned out - and I think my SIL and BIL loved them too!

Here are some photos of the project in progress:

These are the pages just after I had printed and trimmed them to size. I used white cardstock for the cover and normal A4 paper for the inner pages.


 A close-up of the cover:


And a close-up of the inner page:


When I did a test run of the pocket for the inner page, I found that using the full width of the glue runner didn't leave enough room inside the pocket for the folded dollar bills. I hate wasting things so I put two pages side-by-side and glued both in one go so each page had only half the width of glue on it.


You can also see in the photo above that I used a 1 inch circle punch to make a semi-circle at the top of the left hand side of the page - I did this on each left page to give a tab to easily get the money in and out of each pocket.
 
This is how the pages looked once they were glued together (before I attached the cover).


And another view:


The money in the pocket:


All pockets filled and ready for gifting:


The finished passport:


If you make your own version of this passport, I would love to see what you have made - leave me a comment and I will get back to you.
 

Saturday, 14 September 2013

Felt cupcakes for a rainy day

A few weeks ago I came across a blog post on The Daily Buzz with 10 toddler busy bag ideas - things to keep handy to entertain your little ones while waiting at the doctor's surgery or enjoying a coffee at a cafĂ©. I really liked the idea of the felt pizzas - I think they would also be great for a rainy day activity, or something to take on a trip away that doesn't take up much space. Just store them in a ziplock bag for some instant fun! My girls have a shop-bought felt ballerina playset and they love dressing up the ballerinas in the different outfits, so I think they will love this one too. So the next time I was shopping I picked up some squares of felt in a variety of colours and set about creating my own set of felt goodies.

I started with the pizza idea, and cut out the bases, sauce, salami, mushrooms, pineapple, ham, and capsicum by hand. I used various sized containers from my kitchen to get the right shape for the circles for the bases, sauce and salami but the others were cut freehand. I was pretty happy with how they turned out.


As I was cutting away, I started thinking about other yummy foods that could be easily made from felt, so once the pizzas were done I made some felt cupcakes and ice cream cones. Many of the pieces for the cupcakes and ice cream cones are interchangeable - I made 6 of each piece including cupcake bases, cones, strawberries, cherries and chocolate topping plus pink and cream circles which work as both the cupcake top or ice cream scoop. Again I used various containers from my kitchen to get the right shape for the circles, and then the other pieces were done freehand. For the chocolate topping and strawberries, I drew my pattern on some scrap paper and when I was happy with the shape I cut it out and used it as a template for the felt cutouts.
 

Here are some of the finished creations:


They almost look good enough to eat!

Monday, 2 September 2013

Father's Day and birthday cards using kids artwork

Yesterday we celebrated Father's Day with my husband, my Dad and my father-in-law. We also celebrated the birthday of one of my nephews, so I had four cards to make on Saturday. I love making cards but I didn't have a lot of time and still wanted to create something special for these special people. A while ago I had seen this cute handmade "Daddy" sign on Pinterest and decided to use that idea for each card with my own twist.


First I got my two daughters (aged 5 and 3) to paint a sheet of A4 paper using wide brushes with red, blue, yellow and green paint. I got them to do long brush strokes (rather than spots or squiggles), and tried to get a good mixture of colours across the whole page so that the finished product would be colourful and have the sort of effect I was after. While the whole page itself wasn't an artwork you could hang in a gallery, it worked really well for the card design.

Once the painting was dry, I used my Cricut machine to cut each name out of some white cardstock. I had already cut the cards to size (slightly larger than half an A4 sheet so there was enough room for the text) and put the card straight on to the Cricut mat. I used my SCAL software to write the name, using the Courier New font in bold. As each card came out of the Cricut, I removed the positive cuts (making sure I kept the circles for the insides of the letters). I cut my painted page into three equal sections (big enough to fit inside each of the names) the cards and then positioned the painting underneath the name cutouts to make sure it looked good (depending on the pattern of colours from the painting). Once I was happy with the position, I glued the painted piece onto the cardstock. I also made sure that there was glue on the parts of letters that weren't fully attached (eg the triangle part of the 'y'). Then I attached the inner parts of each letter (ie the circle inside the 'o'). To make sure each inner part was positioned perfectly, I put the positive cut from the letter back in its hole and then put some glue on the back of the inner circle and positioned it in the remaining hole.

I have to say that I'm so happy with how these cards turned out - to me they are simple but effective and made extra special because they include some of the girls' artwork as well.  Here are some closeups of each card:


Saturday, 24 August 2013

Fondue night!

I've been wanting to do a fondue night for ages - I bought a fondue set about 3 years ago after having a chocolate fondue for dessert at a mum's night out, but I hadn't actually used it yet. So I organised a fondue night with my husband's family tonight, and it was great!

I actually made 4 different fondues - two savoury for the main meal, and two sweet ones for dessert.

The savoury ones were the classic cheese (although made without alcohol so that the kids could enjoy it too) and a beautiful tomato and capsicum one.

I served a variety of dippers to keep everyone happy:
- cubes of bread (I used a white batard loaf)
- large chunks of Milano ham
- blanched broccoli florets
- blanched carrot sticks
- cooked prawns
- sautéed mushrooms (I bought small ones and cut them into quarters before cooking them in a little butter)
- thick slices of chorizo (pan fried)
- slices of cheerio sausages (for the kids)
- tortellini (I bought a packet with the three colours of pasta)
- cherry tomatoes, halved
- mini chicken balls (oven baked)

We had two identical platters (one for each end of the table) and ate almost all of the food between 7 adults and 5 young kids.


The recipe I used for the cheese fondue was from Spoonful. I made it exactly as the recipe is written so I won't repeat it here.

The recipe for the tomato and capsicum sauce was based on this Fondue Español from Food52 but with a few modifications to suit our family. I used both almonds and cashews as I didn't have enough almonds on hand, but I really liked the flavour of the cashews in the dish. This was a delicious fondue sauce - definitely one to make again, and it would probably work well as a pasta sauce too (although with a bit less cheese).

Fondue Espanol

2 medium tomatoes
1 red capsicum
1 cup water
1/4 cup red wine vinegar
3 slices of bread
3 to 4 cloves garlic, minced
1/4 cup slivered almonds, toasted
1/4 cup cashews, toasted
1/2 teaspoon table salt
1/4 teaspoon freshly ground black pepper
1/4 cup extra virgin olive oil
200g pizza cheese (mozzarella, parmesan & cheddar mix)


1. Preheat oven to 250C and line a baking tray with baking paper. Core, halve, and seed the tomatoes (pole to pole). Halve red capsicum (also pole to pole), and remove stems, seeds, and ribs. Arrange tomatoes and capsicums on the tray, cut sides down. Bake until skin is charred. Rotate the capsicums if needed to ensure even charring. The tomatoes may be done faster than the capsicums. Place capsicums in a plastic bag and close, then set aside for 5 to 10 minutes. Slip the skins off the tomatoes and peppers. Place tomatoes and peppers into bowl of food processor.


2. Place water and red wine vinegar in a small sauce pan. Bring to a boil then remove from heat. Tear bread slices into chunks and add to pan to soak and set aside for a few minutes. 

3. Add soaked bread with it's soaking liquid, garlic, almonds, cashews, salt, and pepper to the bowl of the food processor. Pulse until roughly combined, then scrape sides of bowls. Process for 30 to 60 seconds until well combined, scrape sides of bowl again, then with processor running add the olive oil in a slow stream. Process an additional 15 to 30 seconds. (You may refrigerate this in a covered container until almost ready to serve.)

4. Transfer sauce to a medium sauce pan. Bring to a simmer over medium-low heat. Add the cheese a handful at a time, stirring to melt between additions. Once cheese is fully incorporated, season if needed then transfer to fondue pot and serve with your choice of dippers.
 

For dessert I made a chocolate fondue and a caramel fondue. The dippers included:
- strawberries (hulled and halved)
- thick slices of banana
- marshmallows
- waffle pieces (I cut up some store-bought waffles into large chunks) - this was a bit hit with everyone!
- almond toscani biscuits (like biscotti but thicker and softer)

One of my favourite combinations was a slice of banana and a chunk of waffle with the caramel sauce - it was heaven!

Here is the recipe for the caramel fondue:

Caramel fondue

1/2 cup firmly packed brown sugar
1/2 cup thickened cream
50g butter, chopped

Place sugar, cream and butter in a small saucepan over low heat. Cook for 2 to 3 minutes or until the sugar has dissolved. Bring to the boil. Reduce heat to medium. Simmer for 3 to 4 minutes or until slightly thickened. Pour into fondue pot and serve.

And the chocolate one:

Chocolate fondue

200ml thickened cream
200g chocolate (milk or dark, depending on what you prefer)

Heat cream in a saucepan (or microwave) over medium heat, until almost boiling. Add chocolate and stir until melted and smooth. Pour into fondue pot and serve.

 I can't wait to do another fondue night!
 

Wednesday, 24 July 2013

Tomato & chorizo gnocchi bake

My husband is not a fan of gnocchi - when he saw me cooking this meal he said, "you know I don't like gnocchi" - but I hoped that he would enjoy this one (actually, I was hoping that he wouldn't realise it was gnocchi until after he started eating it, but he came into the kitchen while I was cooking and saw the packet on the bench). And, to his surprise, he did like it. In fact, the whole family loved it and wanted seconds.

This is a recipe that I put together from a few different recipes, and it's the sort of thing that you can add different things to, to suit your own tastebuds. Feta cheese, roasted capsicum, or other Mediterranean flavours would work well. I also used baby gnocchi but the standard size gnocchi would work just as well.

This recipe would probably feed a hungry family of 4 or 5 - we had heaps of leftovers which I have frozen for another day.

Tomato & chorizo gnocchi bake


1 red onion, finely sliced in wedges
2 cloves garlic, crushed
2 chorizo sausages, sliced
1 punnet cherry tomatoes, halved
1/4 cup tomato paste
1/2 cup water
500g baby gnocchi
1 bag baby spinach leaves, chopped
1/2 cup grated mozzarella cheese
2 tbs grated parmesan cheese

Preheat oven to 180C and grease a medium sized baking dish.

Heat some oil in a pan and add onion and garlic. Fry 5 minutes or until onion is softened and beginning to caramelise. Add chorizo and cook for another 3 minutes until starting to crisp. Add tomatoes and cook for further 2 minutes. Add tomato paste and water and bring to simmer then remove from heat.

Meanwhile, cook gnocchi according to packet directions. Put the chopped baby spinach into a colander and rinse, leaving the leaves in the colander. Once the gnocchi is ready, pour the pot of gnocchi (including water) into the colander over the spinach to wilt the spinach. Drain any excess water and add the gnocchi and spinach to the chorizo mixture. Stir to combine then pour into the prepared baking dish. Sprinkle over the mozzarella and parmesan cheeses. Bake for 10-15 minutes until cheese is melted.

Sunday, 21 July 2013

Jungle fun for a first birthday

A few weeks ago we celebrated the first birthday of our little boy. I decided to go with a jungle theme for the invitations, cake and party food for our cheeky little monkey.


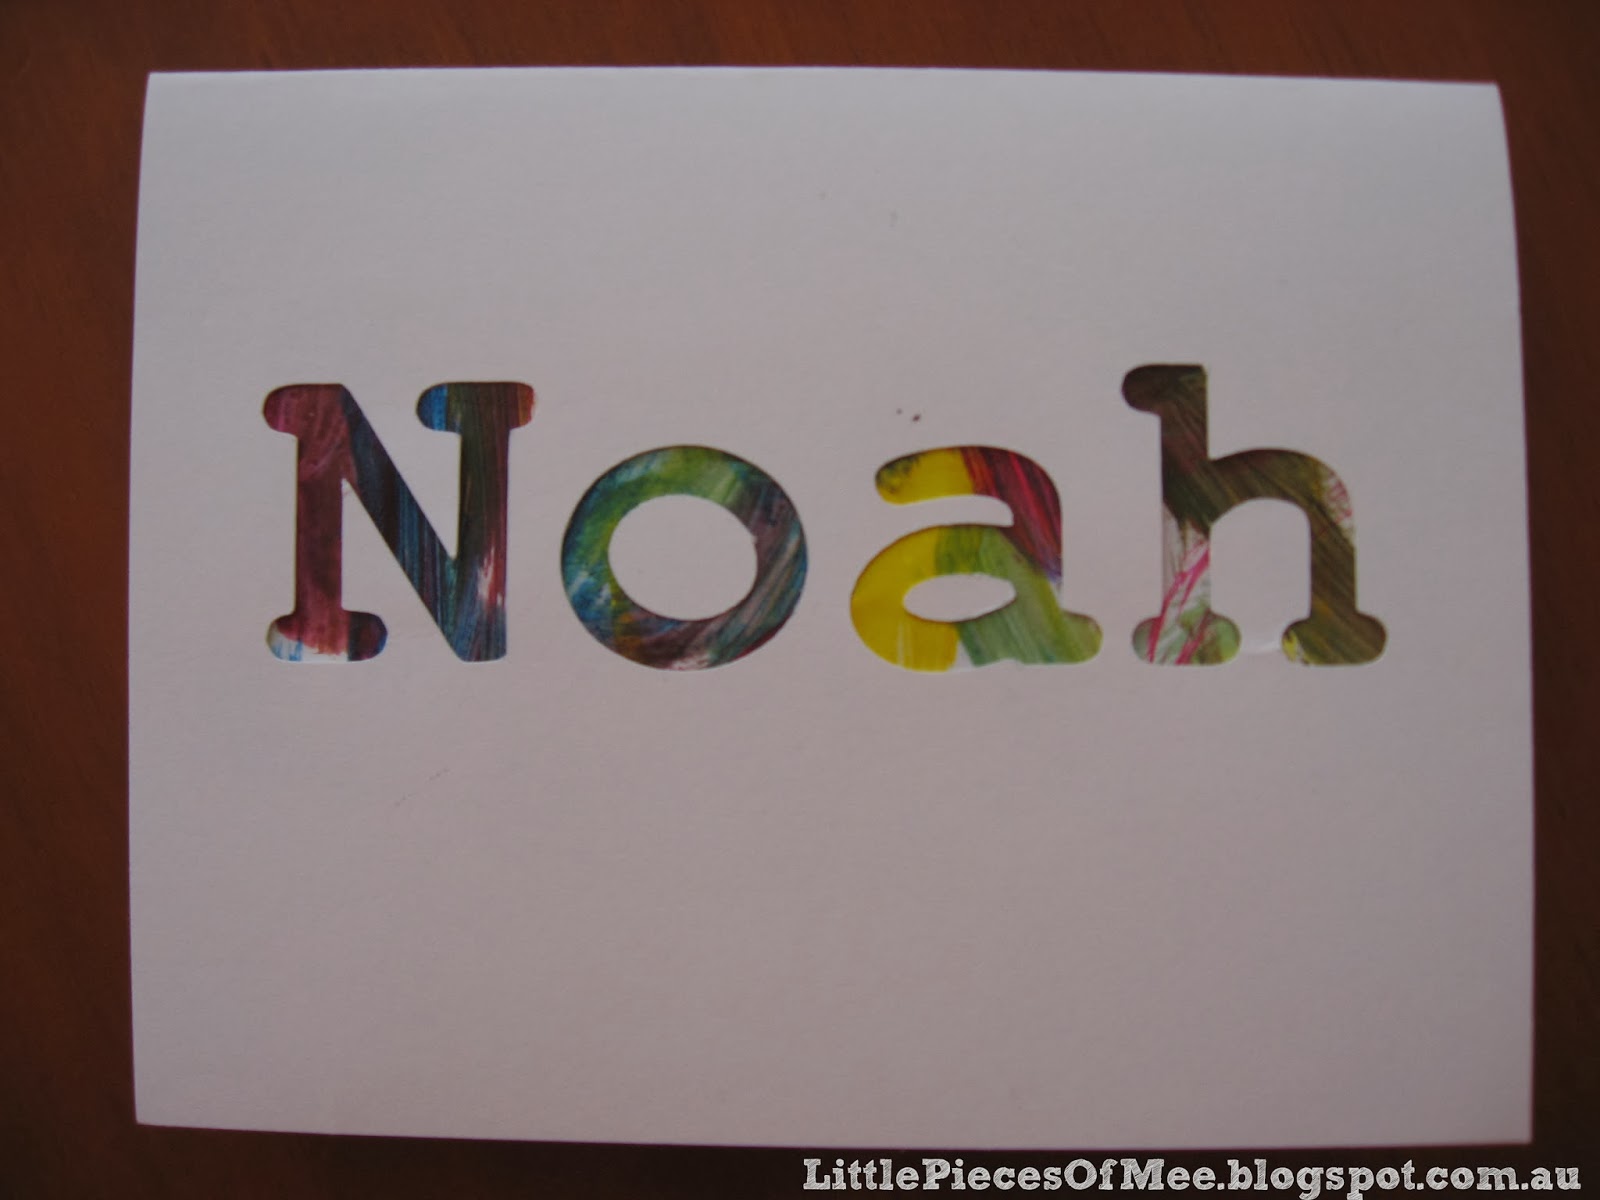
For the invitations, I found a set of images of jungle animals from Print Candee and used these on the top and bottom of the invitation. I also printed some monkeys and cut them out by hand and attached them over the top of the vine with dimensionals from Stampin Up. I was really happy with the end result:

 
Here are some close ups:


For the party food, I wanted to incorporate the jungle theme into some of the food, like the apricot fish that I did for my daughter's 5th birthday, but despite many google searches I couldn't find the sorts of things I wanted to serve that were relatively easy to prepare. So about a week before the party I decided to put my thinking cap on and come up with my own jungle food.

The first idea that I had was to make zebra brownies, using my normal brownie recipe and a zebra-stripe template (which I cut out of some cardstock using my Cricut machine and a zebra pattern that I found on google) and some icing sugar to make the tops of the brownies look like zebras.

My next idea was giraffe cheesecakes, using my usual baked cheesecake recipe but I figured that I would bake it in a slice tin rather than a round spring form pan, and then cut the cheesecake into squares. For the giraffe pattern, after much thought about what would look and taste best, I decided to use some caramel Ice Magic and a giraffe-pattern template (which I also cut on my Cricut machine using a giraffe pattern from google) to decorate the tops of the cheesecake squares.

Then I decided to make some monkey-tail biscuits based on a recipe I had for strawberry swirl biscuits but making the swirl with a chocolate swirl instead. The recipe is at the bottom of this post.

The final piece in the jungle food spread were some paw-shaped rice crackers that my eldest daughter found at the shops. I was quite happy with my creations and couldn't wait to bring them to life for the party. Here are some photos of the finished products:

Zebra brownies
 
 
Giraffe cheesecake squares


Monkey tail biscuits (see recipe below)


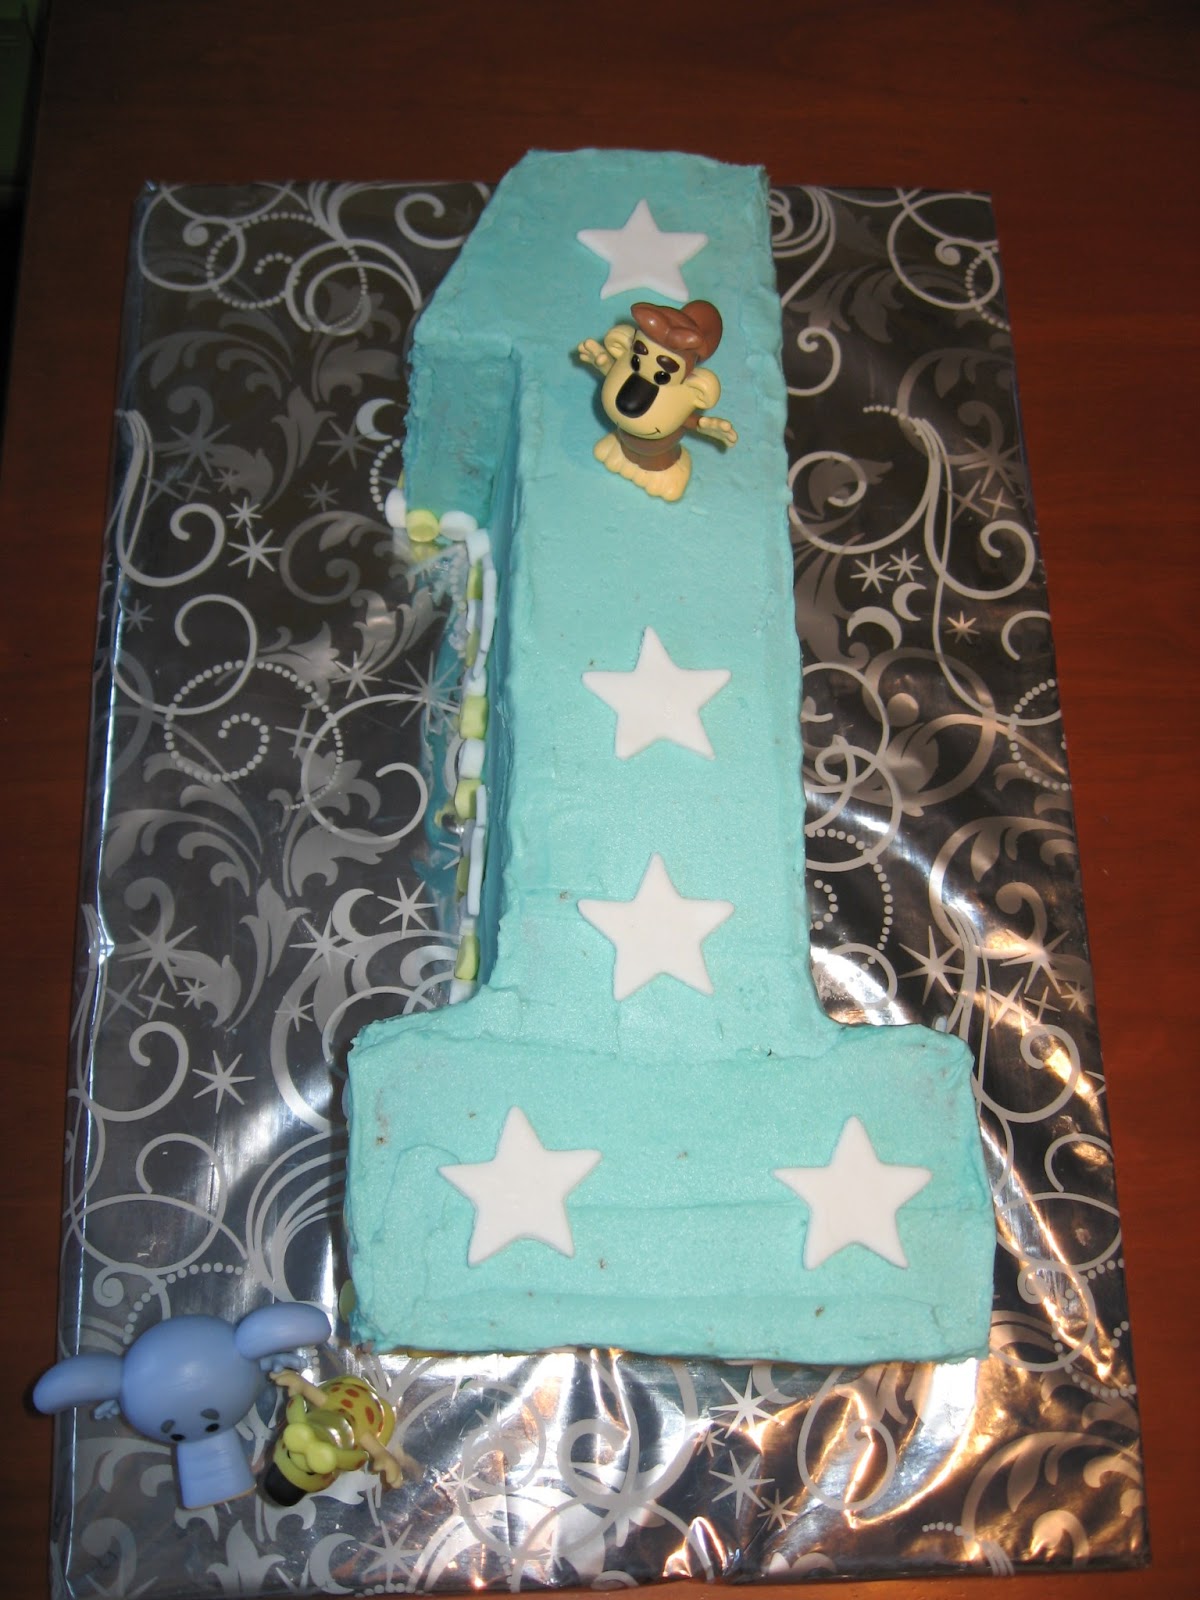
For the birthday cake, I made a number one shaped cake, as I had done for the first birthdays of my two daughters. I also made the cake with blue circles through the middle of the cake, similar to the pink hearts inside the Ariel cake and the green flowers inside the Tad cake I had made for my daughters' birthdays earlier this year.

On the night before the party, the cake had been baked and I was attempting to decorate it. I covered the cake in blue buttercream icing and was trying to work out how to incorporate the little monkey, elephant and giraffe figurines I had bought. I experimented with using green icing to draw leaves and vines but that didn't turn out too well (luckily I did my testing on a sheet of baking paper not the cake). So instead I cut some big stars out of some white fondant and placed these on the cake. I made a border out of white and yellow mini marshmallows (cut in half). I put the monkey on top of the cake with a number 1 candle and then put the elephant and giraffe on the cake board at the bottom end of the cake. I was so happy with how it turned out, even though it was nothing like I had imagined it to be.


As you can see from the photo, the blue circles didn't end up in the centre of the cake - I think I put a bit too much batter in the bottom of the tin before I put the circles in. I was happy that the colour of the blue circles matched to the icing though - I didn't think about that when I was colouring the icing so it was a bit of a fluke.

Best of all, my little boy seemed to love his cake and wasted no time gobbling up his slice.  

Monkey tail biscuits


250g butter, softened
2/3 cup caster sugar
1 egg
2 ¼ cups plain flour
1 tsp vanilla essence
4 tbs cocoa powder
Extra plain flour

1. Beat butter and sugar in a bowl with electric mixer until creamy. Add egg and beat until combined. Stir in sifted flour. Divide dough into 2 equal portions.

2. Place each portion in a bowl. Mix vanilla essence into one dough portion. Sift cocoa powder into the other dough portion. Mix through until dough is a solid brown colour (you can add extra cocoa if you prefer a darker colour).

3. Turn the vanilla dough onto a lightly floured surface and knead in a little extra plain flour so dough is no longer sticky. Repeat this step with the chocolate dough (omit the extra flour). Wrap dough portions separately in plastic wrap and refrigerate for 20-30 minutes until firm.

4. Roll out the plain dough between 2 sheets of baking paper to form a 22 x 32 cm rectangle. Repeat with chocolate dough. Ensure both rectangles are the same size.

5. Remove the top sheet of baking paper from each dough rectangle. Invert the chocolate dough over the plain dough and lightly press the two dough rectangles together by running your rolling pin over the top. Remove the top sheet of paper. Roll up the two-tone dough from the long side using the baking paper as a guide. Wrap the roll in baking paper and place in the fridge for at least 30 minutes until firm.

6. Preheat oven to 180C. Remove the dough log from the fridge and roll the log on the bench to even out any flat spots. Unwrap log and cut into 1cm slices. Place slices, about 3 cm apart, on baking-paper lined oven trays. Bake in oven for 12-15 minutes until light brown around the edges.

Makes approx 30 biscuits.

These biscuits will keep for up to 2 weeks in an airtight container.
 
If you prefer to make strawberry swirl biscuits, use 1 tsp of strawberry essence and a few drops of pink food colouring instead of the cocoa in step 2. Add the extra flour in step 3 as for the vanilla dough. 
 
Recipe adapted from Take 5 'Fete Favourites'

Saturday, 8 June 2013

Mexican tortilla stack

When my kids asked the other day what was for dinner and I replied "Mexican tortilla stack", they asked what that was. My easiest explanation was that it's like a Mexican-flavoured lasagne but made with tortillas instead of lasagne sheets. 

My version is an amalgamation of a few different recipes which I've experimented with over the last few months in my hopes of replicating a delicious meal I had at a cafe one day last year. I think this one is pretty close - maybe even better!

After taking a few mouthfuls, both my husband and my 5-year old daughter gave it the thumbs up, and my daughter said, "Mummy, this is so yummy, you should add this to the list!" referring to a list of yummy dinners that she would love me to make every day.

My favourite part is the mushrooms but I think the different layers and flavours all work really well together. It's a fairly simple meal to put together too. It also freezes well so if you've got any leftovers you can reheat it for another meal. So here's the recipe:

Mexican tortilla stack


500g lean mince
1 packet taco seasoning
1 tbs tomato paste
250g mushrooms, sliced
1 spring onion, sliced
2 tbs sour cream
6 tortillas
jar of enchilada or taco sauce
1/4 tin refried beans
1 cup grated tasty cheese

Preheat oven to 200C. Line the base of a round springform pan with baking paper (I put the baking paper over the base before clipping the rim into place so that the baking paper is held in place by the rim) then grease the whole pan.

Brown the mince in a frypan then mix in the taco seasoning and tomato paste. If the mixture is a little too dry, you can add a bit of water to give it a bit more of a saucy consistency (but not too watery). Remove from heat and set aside.

Melt some butter in a frypan and cook the mushrooms and spring onions until softened. Remove from heat and stir in the sour cream (depending on how moist your mushrooms are, you may need more or less sour cream - you want the sour cream to just coat the mushrooms but not be too wet or too dry).

To assemble the tortilla stack, place a tortilla in the springform pan and top with half of the mince mixture. Spread some enchilada/taco sauce over the meat and sprinkle over a small handful of grated cheese. Top with another tortilla.

Spread half of the mushroom mixture over the tortilla and sprinkle with a small handful of grated cheese.

Spread the next tortilla with a tablespoon or two of refried beans then place it on top of the mushroom layer. Top with another tortilla.

Spread the remaining mince mixture on the tortilla and top with more enchilada/taco sauce and another small handful of grated cheese. Top with another tortilla, and then another layer of the remaining mushrooms and a handful of cheese, then another tortilla. Spread this tortilla with some
 
enchilada/taco sauce and the remaining grated cheese.

Bake in the oven for around 20 mins, or until the cheese on top is melted and golden.

Cut into wedges and serve with salad or vegies.