
First I got my two daughters (aged 5 and 3) to paint a sheet of A4 paper using wide brushes with red, blue, yellow and green paint. I got them to do long brush strokes (rather than spots or squiggles), and tried to get a good mixture of colours across the whole page so that the finished product would be colourful and have the sort of effect I was after. While the whole page itself wasn't an artwork you could hang in a gallery, it worked really well for the card design.
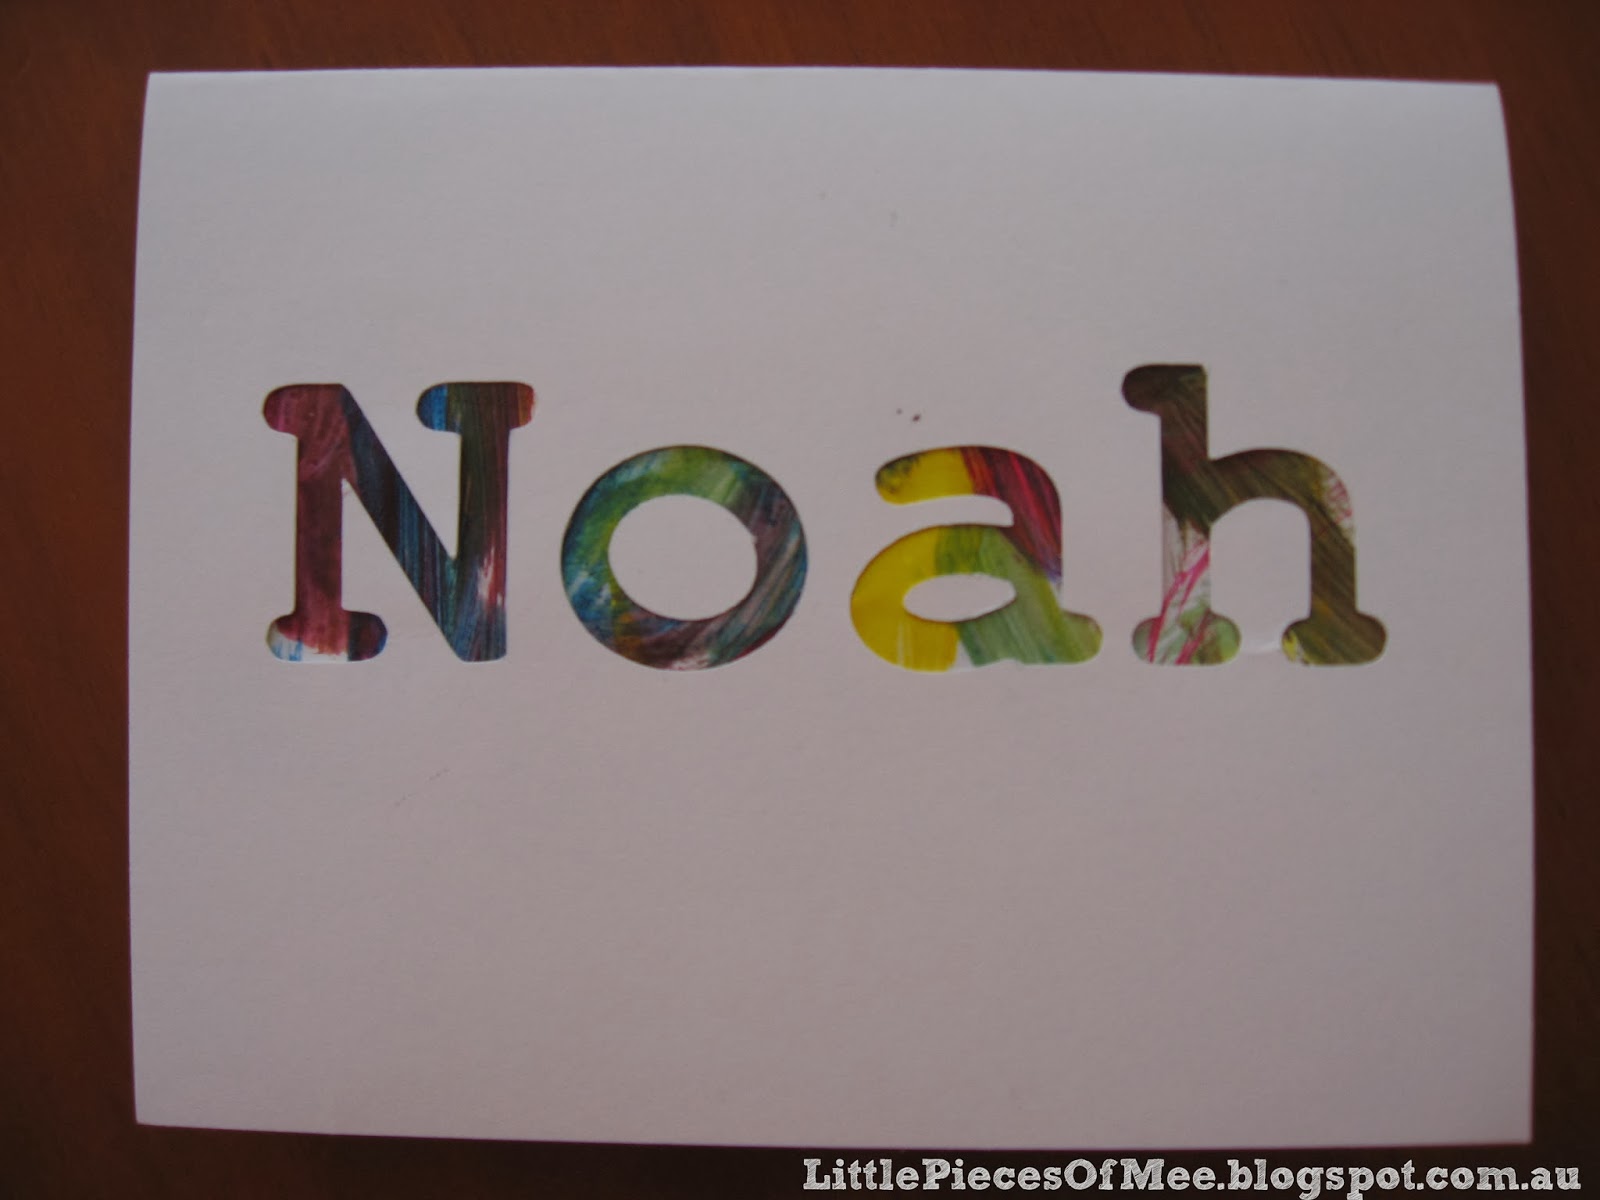
Once the painting was dry, I used my Cricut machine to cut each name out of some white cardstock. I had already cut the cards to size (slightly larger than half an A4 sheet so there was enough room for the text) and put the card straight on to the Cricut mat. I used my SCAL software to write the name, using the Courier New font in bold. As each card came out of the Cricut, I removed the positive cuts (making sure I kept the circles for the insides of the letters). I cut my painted page into three equal sections (big enough to fit inside each of the names) the cards and then positioned the painting underneath the name cutouts to make sure it looked good (depending on the pattern of colours from the painting). Once I was happy with the position, I glued the painted piece onto the cardstock. I also made sure that there was glue on the parts of letters that weren't fully attached (eg the triangle part of the 'y'). Then I attached the inner parts of each letter (ie the circle inside the 'o'). To make sure each inner part was positioned perfectly, I put the positive cut from the letter back in its hole and then put some glue on the back of the inner circle and positioned it in the remaining hole.
I have to say that I'm so happy with how these cards turned out - to me they are simple but effective and made extra special because they include some of the girls' artwork as well. Here are some closeups of each card:


No comments:
Post a Comment